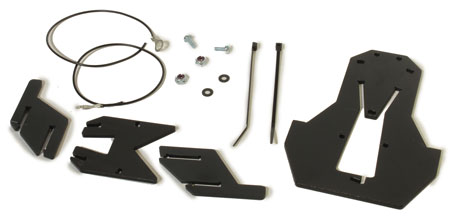
Step 1 – Put Together ‘The Prong’
Find the following parts:
- 2x black 8.5" [215mm] stranded wire contact leads with ring terminals on them
- 2x #6 × 3/8" wide head slotted screw (these are slightly longer than the charge contact and motor mounting screws)
- 2x #6 locknuts
- 2x #6 black plastic washers
- 2x small zap-straps
- 4x plastic parts as shown
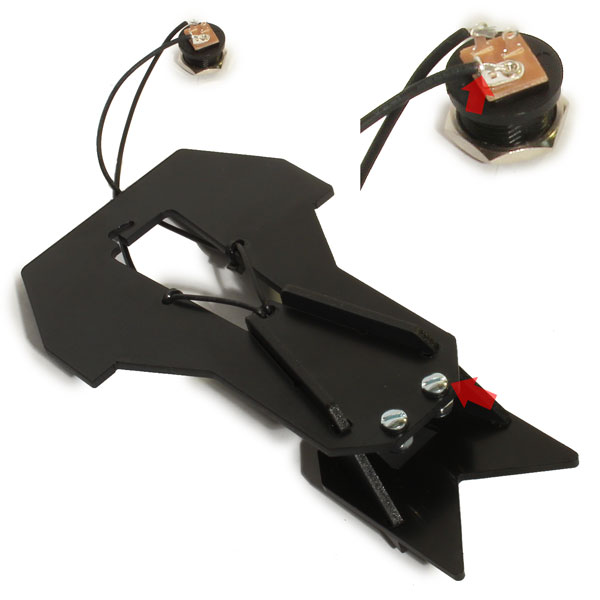
Fasten the contacts thru the holes in the tip of the main prong part. The wires and nuts should be on the bottom (bad side of the material), and the screw heads and washers should be on the top (good side).
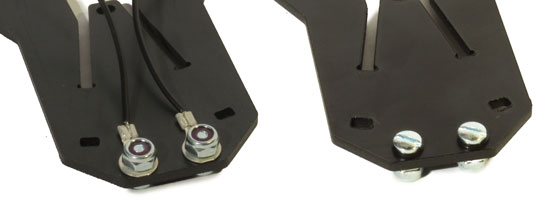
Install one side, and the V-part (the V-part material looks different because it’s acetal, not ABS)
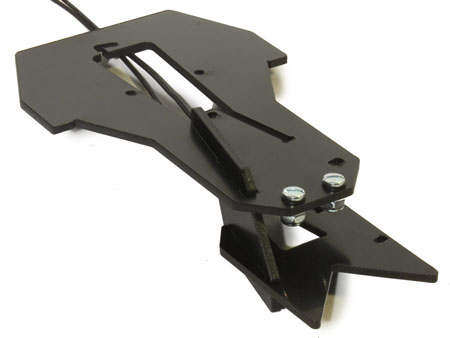
Install the other side, and route the wires through as shown. Run zap-straps through the holes and wire and tighten to secure the wire, then trim the excess:
Step 2 – Solder Power Jack
Strip the wires about 3/16" [4.5mm], and solder to the DC barrel connector jack terminals as shown below.
Polarity is crucial – POSITIVE (center barrel) is the bent connector on the jack (see red arrow), which leads to ROBOT’S LEFT on the prong (also indicated by red arrow)
(The datasheet for the jack can be downloaded here)
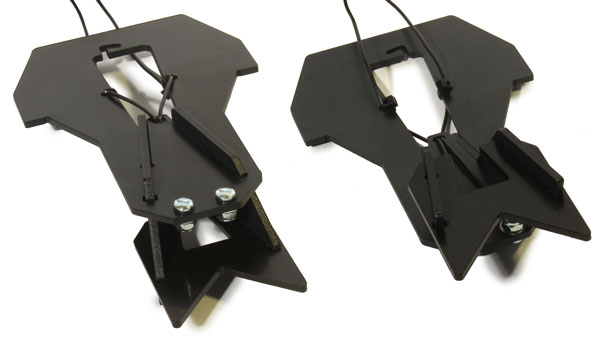
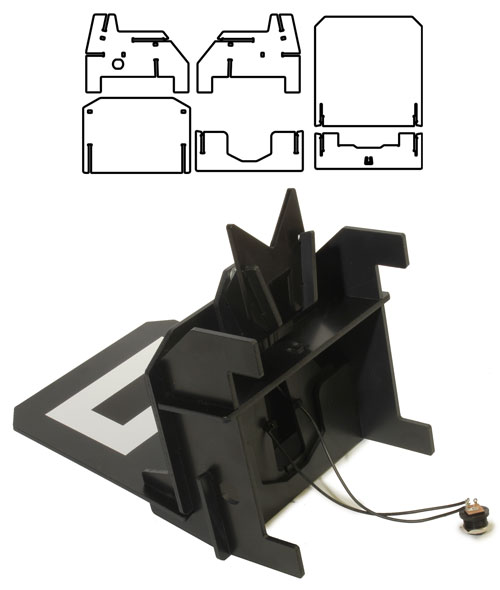
Step 3 – Assemble Dock Body
Assemble the 6 remaining dock plastic parts around the prong assembly, as shown:
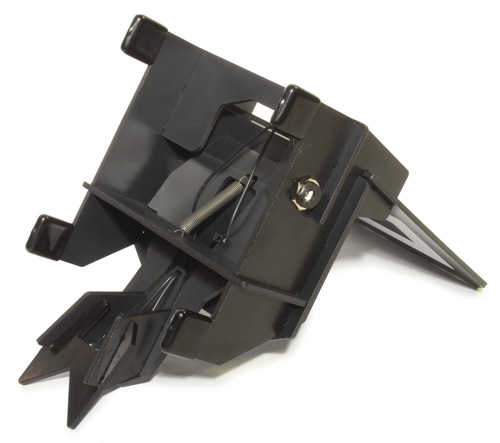
Step 4 – Install Feet, Spring and Jack
Apply the 4 plastic feet, hook the spring on, fasten the jack, and the charging dock is ready to go:
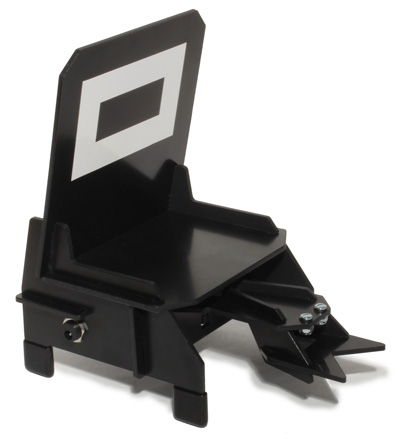
NEXT: Camera + Light Assembly