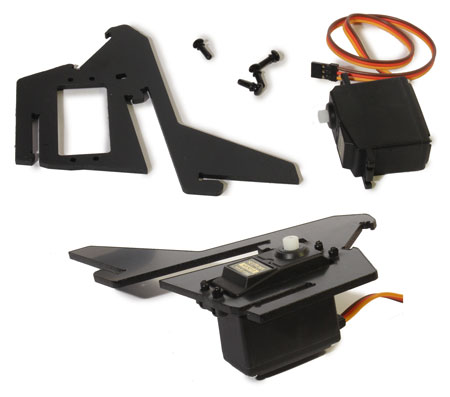
Step 1 – Connect Servo to Bracket
Use the 4 plastic push rivets to connect the servo to its mounting bracket. The rivet heads should be against the servo mounting flange, and the rivet tips should be in the bracket holes.
Step 2 – Assemble Docking LED and Mirror
Find the parts below:
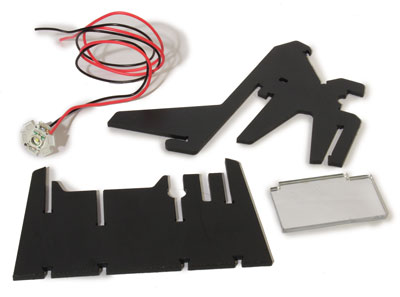
Put the mirror into its holders (note orientation), and slide the LED into the frame part. Then, snap the rear panel into place:
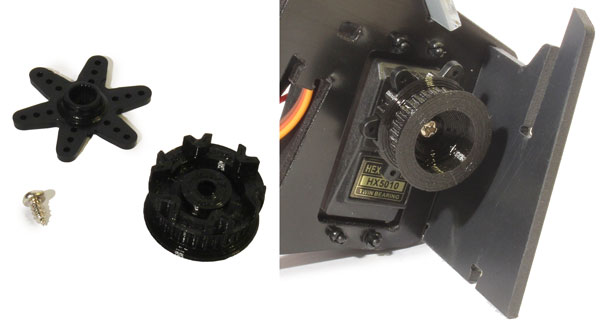
Step 3 – Install Pulley on Servo
Mate the servo horn and the pulley, and fasten it to the servo spline using the screw and a small phillips screwdriver:
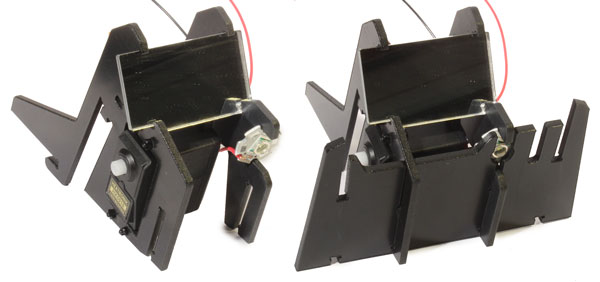
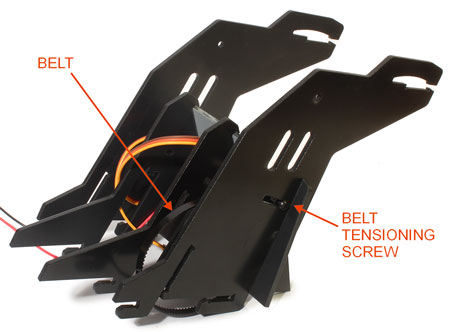
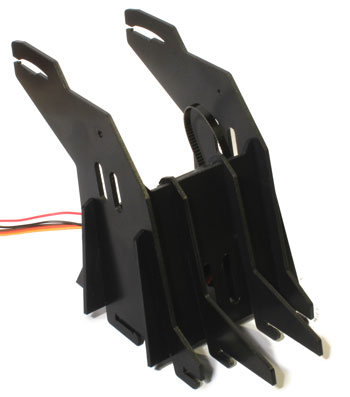
Step 4 – Assemble Belt Tension Screw, Belt, and Sides
Fasten a 5/8" [16mm] long black plastic screw to the belt tensioning slot in the side, along with a washer and nut on the inside, just finger tight for now.

(The side part shown is for mounting the Xtion depth camera. If you’re not mounting a camera, choose the simpler side parts without mounting features).
Then, loop the belt around the pulley (it will be captivated by the side), and slide the sides into place as shown:
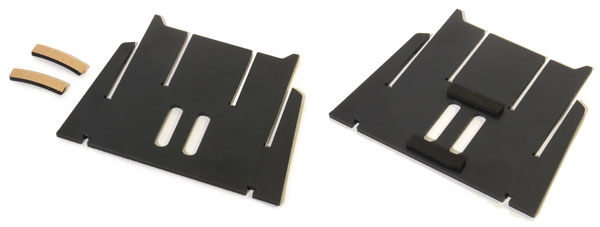
Step 5 – Install Speaker Gasket to Front Panel
Peel the gasket backings off and place them 1-2mm above and below the edge of the front panel grill slots, carefully centered. Apply them to the back (ie., the bad side) of the plastic:
Step 6 – Install Front Panel
Slide the front panel into place:
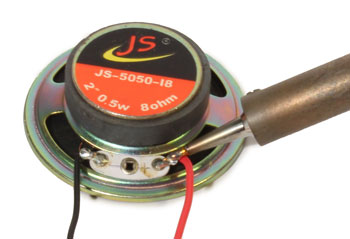
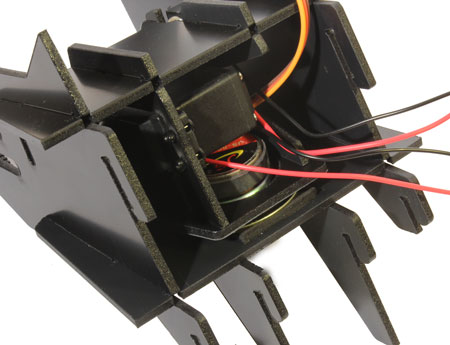
Step 7 – Solder Leads to Speaker Terminals
Strip the ends (approx 1/4" [6mm]) of each of 18" [460mm] red and black wires. Solder red and black to the positive and negative terminals of the speaker, respectively. Be careful not to leave any bare wire touching the metal body of the speaker. Label the other ends of the wires so you can tell them apart from the LED wires later.
Step 8 – Install Speaker
Place the speaker in position against the gasket on the back of the front panel, pushed up against the frame inside. Position the wire terminals up (ie., towards the mirror):
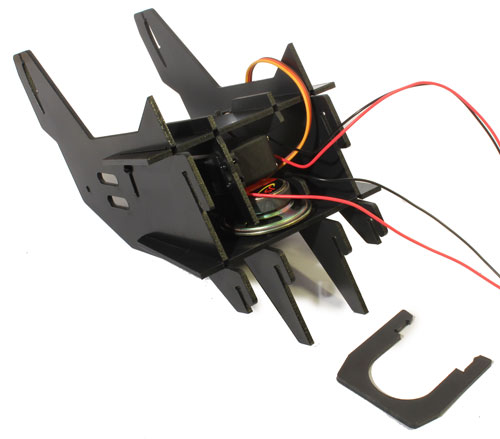
Position the speaker retaininer U bracket (shown above, lower right), and slide it into place as far as it will go:
NEXT: Upper Assembly Complete