Step 1 – Connect the Battery
Remove the bottom panel:
The bottom panel is held in place by 3 tabs on either side. Flex the side of the chassis to free a middle tab on one side, then slide the panel out.
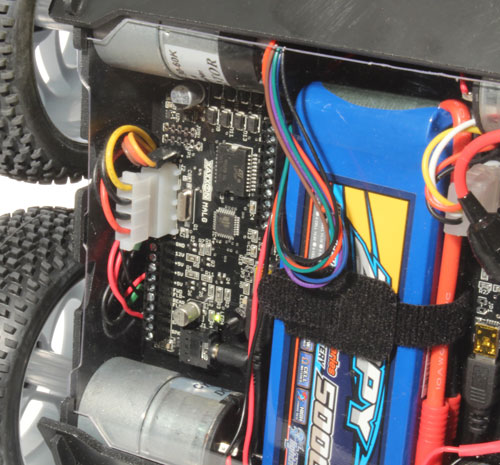
Plug in the battery, lining up the 2 tabs on the connector with the 2 gaps in the receptacle on the PCB (black lead towards rear of robot).

This should power up the system. Replace the bottom panel, and plug the charging dock into wall power (a temporary charging dock location is OK). Manually place Oculus Prime into the charging dock for now .
Step 2 – Setup Wifi
After a couple minutes you should notice the lights flashing approximately every 10 seconds. This means Oculus Prime is in wifi access point mode, broadcasting its own wifi network.
Using another device with a web browser (eg., any other laptop, desktop, or mobile device with wifi capability), look for the 'oculusprime' wifi network and connect to it. Once connected, enter 10.42.0.1 into the web browser address bar on your device. It should load the Wifi Manager web page.
Find your preferred wifi network under ‘Other Connections in Range’ and click on it, then enter the password to connect. Wait a minute or two for it to connect.
Then, re-connect with your original wif network, log into your router and check the connected devices list, to see what IP address Oculus Prime has been assigned to. That is the address you will use when connecting to Oculus Prime using the web browser remote control
For more information on connecting to wifi using this method, see Using the Headless WiFi Manager
If you’re able to connect you can move on to step 3.
If not, you might have to go the manual route to setup wifi, by attaching a keyboard and monitor.
NOTE: An alternative to connecting a keyboard + monitor is connecting the robot to wired ethernet, if it’s more convenient — it should automatically connect to the wired LAN, then you can login remotely via ssh and VNC (see Step 4 below for details)
To temporarily enable manual wifi setup, you’ll have to open a terminal on the Xubuntu desktop and enter the commands:
$ java -jar ~/oculusPrime/access_point_manager/stop.jar
$ nm-applet
Using the wifi icon in the upper right corner, connect to your preferred wifi network, set to “automatically connect when available.”
Step 3 – Reserve Permanent Address
Normally you’ll want to choose a specific IP address, to keep Oculus Prime’s address from randomly changing. A good way is to log into your wifi router, and reserve a particular IP for Oculus Prime’s wifi MAC address.
Step 4 – Connect Remotely with SSH and VNC
With networking setup, you should now be able to connect to the system remotely. You can use a ssh client to log into the Xubuntu OS (using the username and password provided on the instruction sheet that came with the unit). Putty.exe is a popular Windows ssh client; OS X and Linux have ssh available in the terminal as standard.
Its a very good idea to change your password right away — use the ‘psswd’ command.
Once logged in, you can use the ‘vncgo’ terminal command to start up the VNC server, and remotely-access the desktop using a VNC client.
Next Steps
You’re almost ready to go. The next steps are to:
Read through the section on Battery Safety
System Configuration
Proceed to the next section on ‘System Configuration’ where you can familiarize yourself with port forwarding (for operating over the internet), alert messaging setup, charging dock placement, and the configuration file.
Remote Control
Read the ‘Remote Control’ section, which starts with info on the web browser remote control. The Full Version Oculus Prime has been pre-calibrated, but you might need to re-calibrate the dock if auto-docking consistently takes multiple attempts to dock.
Note: By default use the remote control username and password provided on the instruction sheet. You can change these by going to ‘MENU > accounts’ within the remote browser interface.
Software Update
Make sure you’re using the latest software package. Using the browser remote control, go to ‘MENU > server > check for software update’
NEXT: Port forwarding